Monday, July 13, 2015

Tactile Letters: Part Two

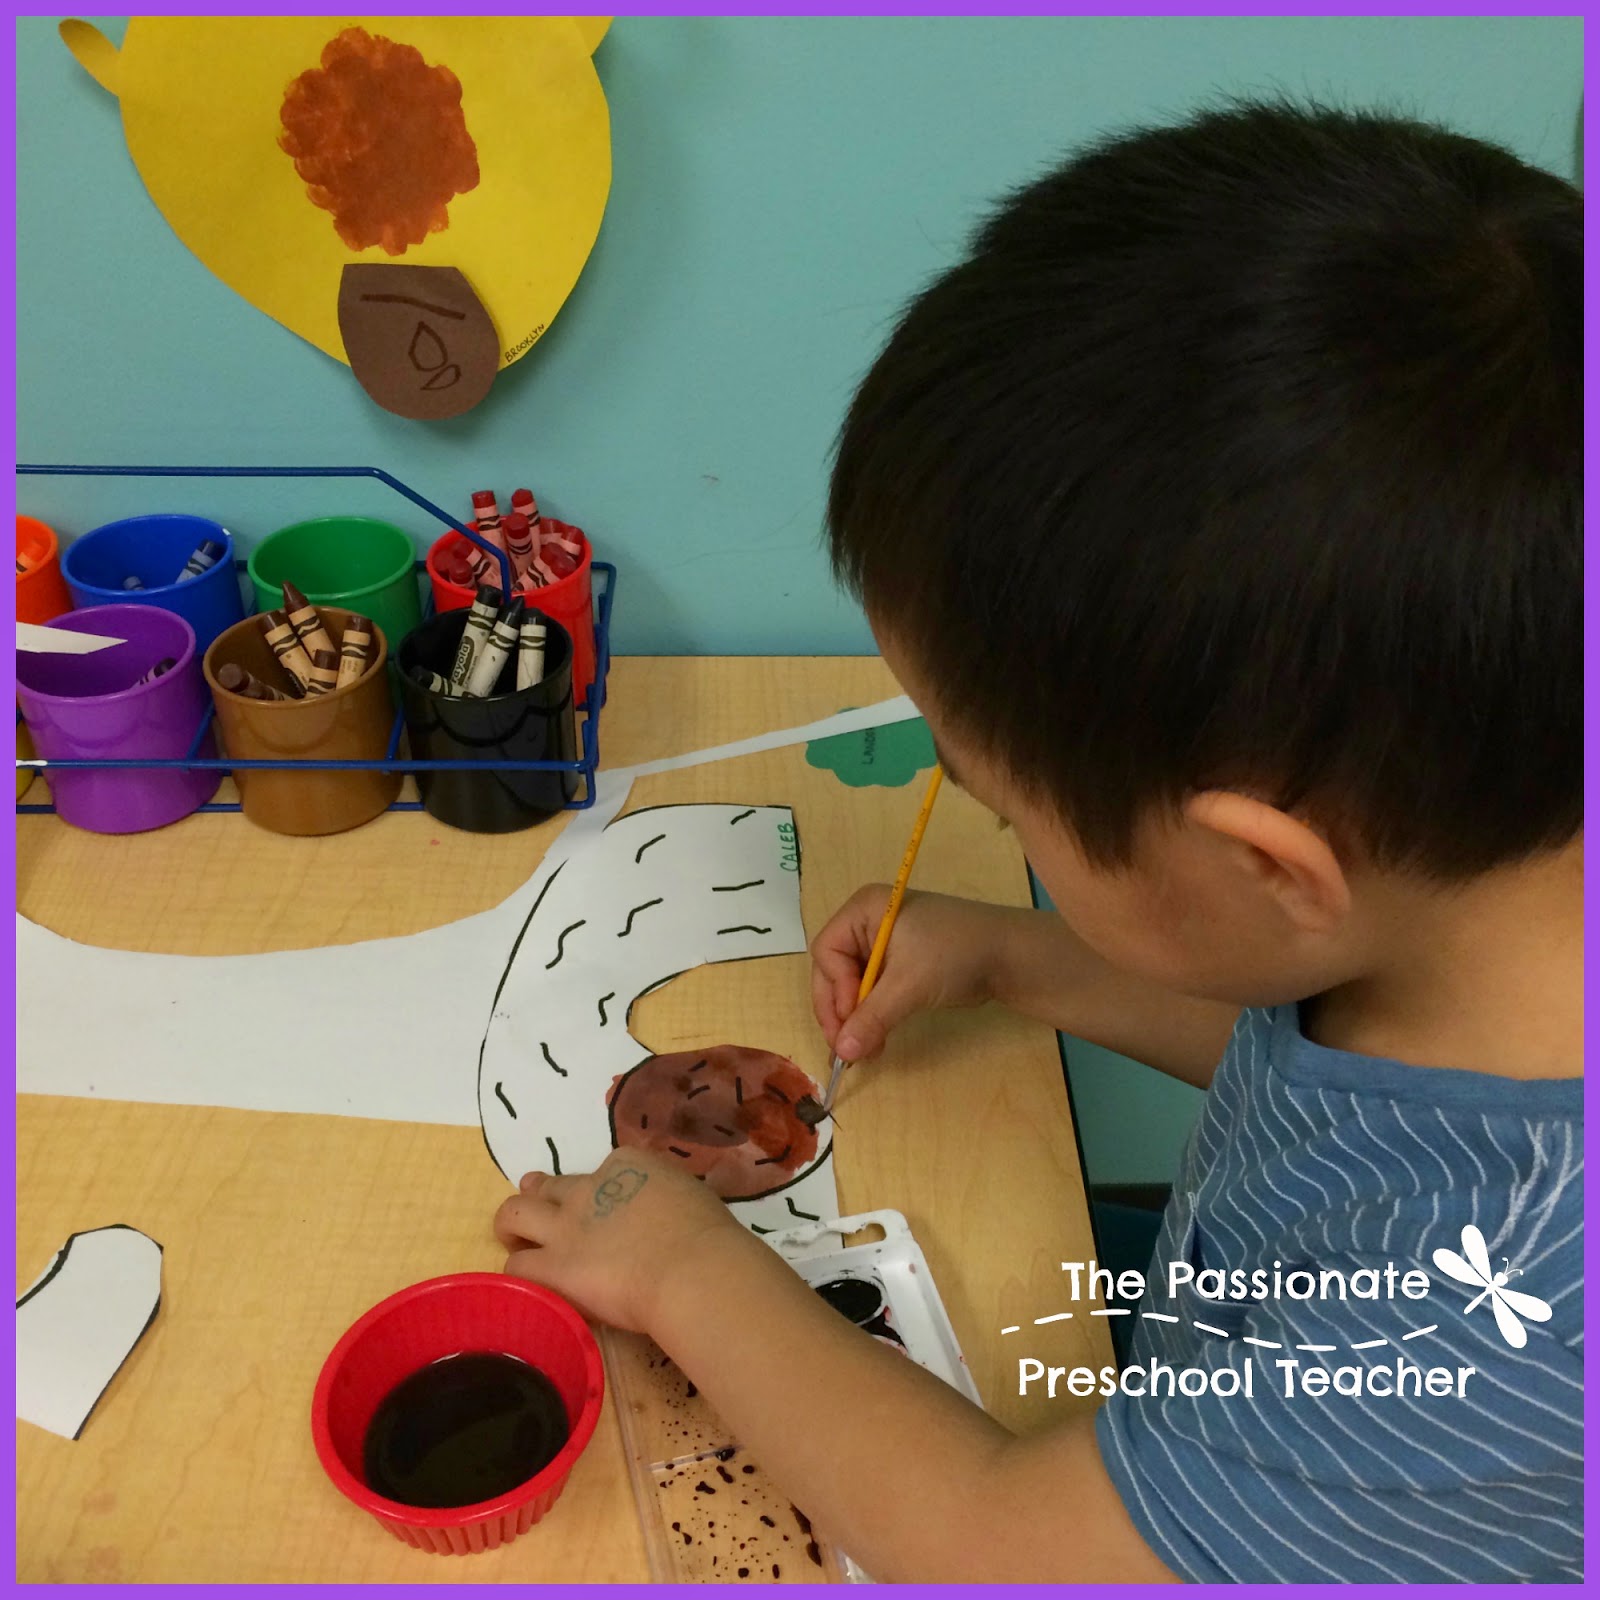
I started this fun, creative project during Christmas break. You can see the first part here. Once we were back in school, there was limited time to finish. So this project made it to the "Summer To Do List." The kiddos loved them, even the 22 letters that weren't finished. They would build with them, spell their names, match the letters with other letters in the classroom and more.

Here are 10 new ones I made this weekend! (I am more than half way done!)

(All the letters so far)

L is for Lizard/Reptiles
I could not find a lizard looking piece of fabric, so I went with snake. To me it's all the same...it's a reptile. Agh! All I did was trace the letter on the fabric, cut it out and used Gorilla Glue Gel (make sure it is Gel...the others don't work as well) to glue it on. I left the edges blank for two reasons: 1. I want to keep the integrity and shape of the letter (my #1 concern when making these letters). 2. I didn't want to take the time to paint. ;) Plus the brown was great and it could lead to conversations about camouflage.


B is for Buttons & Blue
I knew with the one that the background would show through so I painted it blue (from Hobby Lobby). Then I Gorilla Glue (Gel) the buttons on. I bought a variety pack from...you guessed it... Hobby Lobby! It had many unique buttons. I can imagine a game of I Spy happening with this letter. Once again I only did buttons on the front and back because I don't want to lose the shape of the letter.


T is for Tinfoil
This was the simplest one and you most likely have the supplies you need in your house. Tinfoil and hot glue. Be careful not to burn yourself because the tinfoil gets really, really hot. I just wrapped it around the letter and glued the edges. I LOVE the texture of this one. I am sure they will like it because little ones love shiny things.


Z is for Zebra
This one was simple too! I painted it white using the same brand of paint as the blue on the letter B. Then I hot glued black, felt stripes to make it look like a zebra. I like how the texture changes from paint to felt. 


G is for Glitter
I think this one is my favorite!! The picture doesn't give it justice. I painted the edges purple to match the glittery paper. Then I got this sequence paper from Hobby Lobby. I only need one sheet. I traced the letter on the paper, cut it our and used my buddy, Gorilla Glue Gel. And just like that I have a glittery G.


Y is for Yarn
I had this yarn left over from the time I learned to knit. Finally I found a great use for it. I put Tackey Glue on the edges and just wrapped the yarn around the Y.


C is for Crayon
As a Preschool Teacher I have hundreds of broken crayons, so I thought I could use them for the letter C. I had to break a few. Some have the wrappers on and others don't. I thought it would be fun to have both textures on the letter. All I did was hot glue the broken crayons on.


D is for Dots & Duck Tape
I knew I wanted to use washi and duck tape. I found these adorable tapes with dots on them at Walmart. I just wrapped them around the D. It was nice not to use glue. :)


F is for Feathers
This one I might regret later, with all the feather fuzz flying around my classroom (I need to vacuum my craft area). I bought a package of neon feathers at Walmart. Then I hot glued them to the letter. I went around the edges and trimmed the feathers so you can see the letter.


P is for Pennies
This one was fun! I collected some pennies from around the house, and the coin jar. Then I hot glued them to the letter. It was fun to look at the different types. I have the faces showing on the front and the backs on the back. I can't wait to hear the fun conversations we will have discussing the different types of pennies. We will compare, find similar ones, talk about the shiny vs. the dirty ones. It will be a blast!


I hope these ideas help you create something fun and hands on. Feel free to use these ideas and incorporate them into your classroom, play room, home, etc. 

Comment below and let me know which one is your favorite?
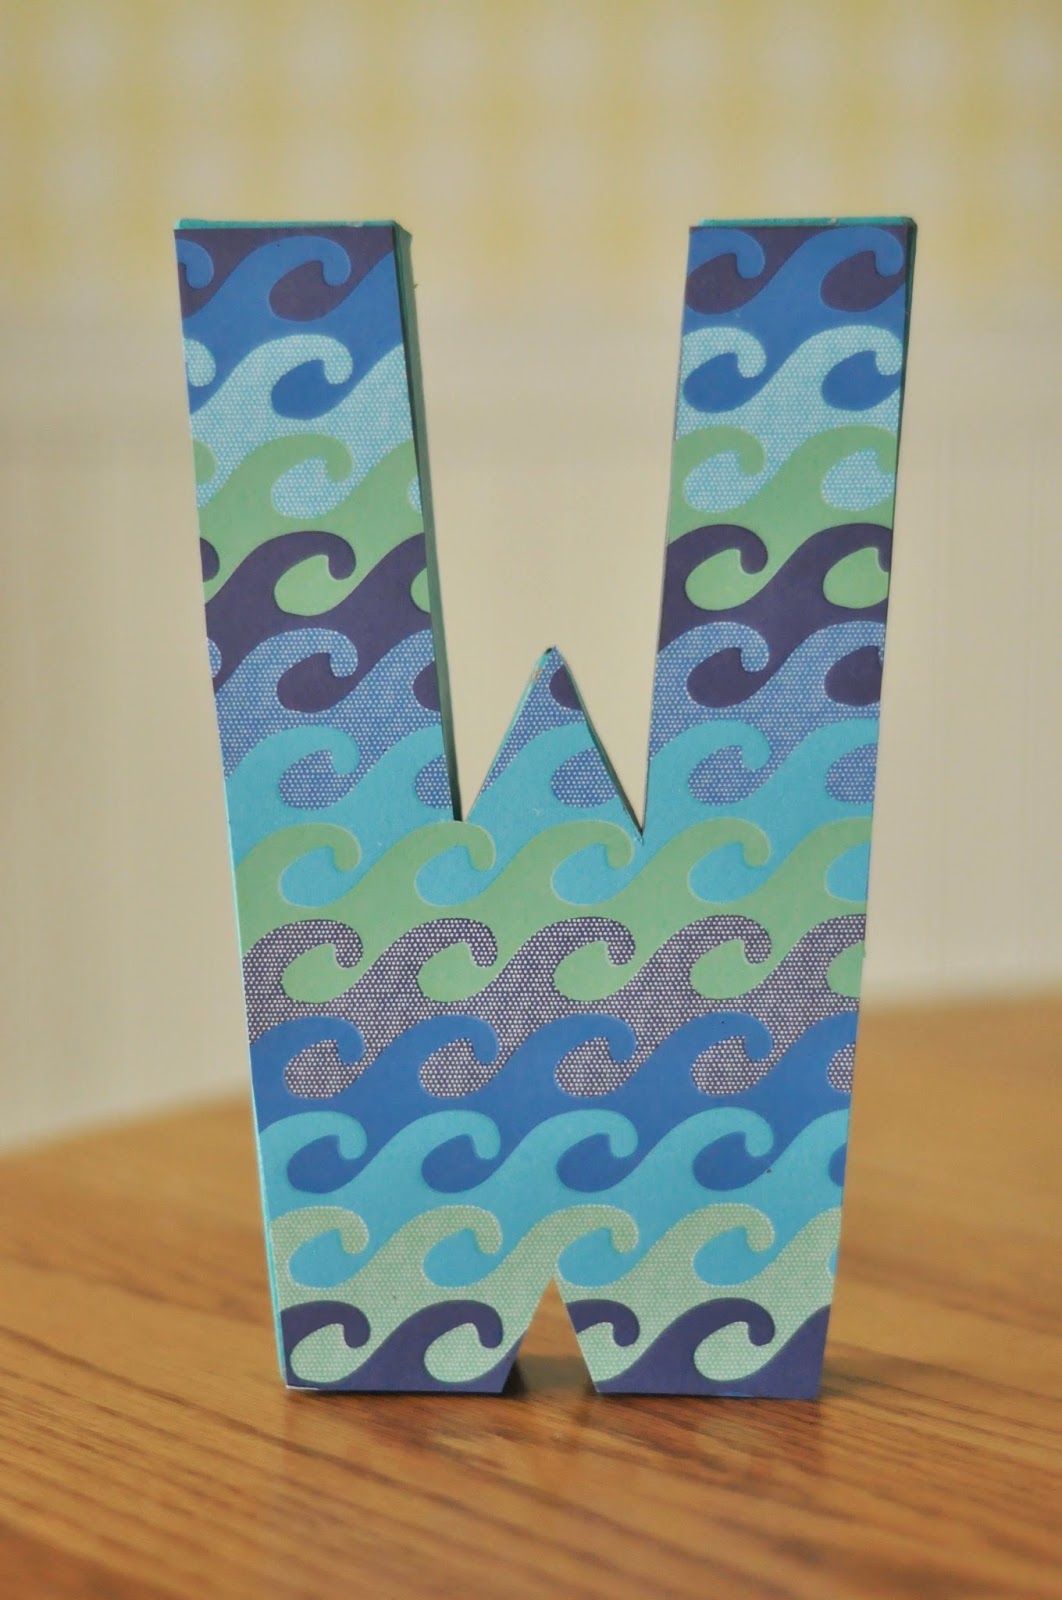
Also, any ideas for the letters: E, K, U & V? I have a couple ideas, but I am not sold on anything yet. 

Happy Creating, 

Rebekah

Thursday, April 2, 2015

Jesus is Alive!!!

E is for Easter

Today as I wrote my objectives on the board, I realized how blessed I am to use the word Jesus in my objectives. It has been an amazing week teaching the kiddos about the true meaning of Easter. We have had MANY discussions about Jesus. They ask SO many great questions.

Why did Jesus die?
How did He come back to life?
Where is Heaven?
How do you get to Heaven?
How did Jesus get to Heaven?

Along with these great questions we have also had some amazing quotes:

Me: Is Jesus still dead?
Kiddo #1: NO!!! After 3 days He came back to life!!!! (Very enthusiastic)
Me: Where did Jesus go after He died?
Kiddo #2: He went to Heaven. And now He is really old. 

I love their curiosity, questions, comments and thoughts! Oh to be 3 and 4 years old. 

Here is a peek into our classroom this week!

Activity 1: Sensory Bin
- Easter Grass
- Easter Eggs
They love this sensory tub. They enjoy digging through the grass looking for the Easter Eggs. Opening and putting the Easter eggs back together is a great fine motor activity too!

Activity 2: Easter Egg Hunt & Story
Last year I made a modified, preschool appropriate resurrection egg story. I used only 6 eggs and it started from Jesus' birth to resurrection! It is a great hands on way for the kiddos to remember the story of Easter and to follow God's commandment of sharing the good news with everyone.

This year I thought it would be fun to go on an Easter egg hunt in our classroom. After hiding all the eggs (6 for each kiddo), I gave each kiddo a bag with his/her name on it. I told them they needed to find one of each color. Once they found all 6 they sat on their rug spot. Together we opened the eggs and told the Easter story. They were SO excited to bring home their own eggs so they could share the story with their friends and family.

I found all my Easter eggs at the Dollar Tree. I was able to enough eggs for 3 kiddos in a package. I made sure they were all the same color tone so there would be no fighting. :)
1. Jesus is born!
I found an image of baby Jesus. We cut and laminated them.

2. Jesus loves everyone!
I found these adorable heart stickers at the dollar tree.

3. Palm Sunday.
I dug through my box of foam shapes and letters and found little green pieces of foam to represent palm branches.

4. Jesus died for us!
I hot glued 4 toothpicks together and trimmed the edges.

5. They laid Jesus in a tomb.
I bought a container of rocks to represent the rock in front of the tomb.

6. Jesus is alive!!!
This one is empty because Jesus is no longer in a tomb, He is alive and in Heaven! Amen!!
The kiddos were SO excited to see the empty egg.

Activity 3: Palm Sunday
We thought about getting palm branches to late, BUT next year we will!! Instead we made our own palm branches out of construction paper. Then we pretended that Jesus was coming and we all shouted: "Hosanna!" 
Quote:  
Kiddo #3:"How about we pretend I am Jesus."


Activity 4: Water Color Tomb
They are VERY interested in the tomb this year, so I decided to make a last minute addition to our already busy, short week. They loved creating their own empty tomb and they can't wait to take them home. They cut out the tomb on white construction paper. Then they water colored it with brown and black. 


Once they were done, we hung them on our bulletin board.

Activity 5: Water Color Cross 
This was also a last minute addition this year. The kiddos were really into water coloring so I thought I would let them cut out a cross and water color it however they wanted to. We hung them from our ceiling which makes our room very festive. 

Activity 6: Tie-Dye Coffee Filter Cross
We have done many coffee filter projects this year. The kiddos love them because they are an independent project and they LOVE seeing how the colors mix together. This is our Preschool wall. Each month we put a new display up that uses each child in our Preschool program. 


Activity 7: Easter Story Egg
I have seen many different symbols where colors can tell the Easter story. I decided to turn this into an egg shape and have the kiddos water color stripes with the corresponding color. As they painted each color we talked about what part of the story it told.


Activity 8: Chalk Easter Eggs
They LOVED decorating their own Easter eggs. 
1. Have them place 3-5 pieces of painters tape on an Easter egg made out of white cardstock. 
2. Teach them how to dip chalk into water.
3. Have them use the wet paint to color over all the white. 
4. When they are done coloring, remove the painters tape to see a cool design. 

Kiddo #4: "I made this for God."
(So we hung it from the ceiling on one of our clips)


Bonus Activity: Easter Egg Sorting
I shopped the Easter sales last year and got a variety of Easter eggs. The kiddos sort by color, made patterns, mix and match them all while strengthening their pincher fingers (which helps with writing).

I found this container at the Dollar Tree (can you tell I like to shop there? The problem is it is next door to Target!). I have 3 of these containers and have used them many times!
Jesus is Alive!!!

Saturday, March 28, 2015

T is for Transportation

I don't know about you, but for my boys this was a BIG week! This years group of boys are everything cars. I think I have a bucket containing over 200 cars, and they still bring their own!!! 
Since I knew they loved cars, I wanted to captivate that interest and use it to best teach them. The most effective teachers are those who tune in to what they are interested in. 

Here is a peek into what we did this week:

Stoplight Cars
We found the initial idea here, but we tweaked it to our liking. :-)
We made some modifications as the week went on to make this more meaningful and cute. 
1. We cut out the tiny black circles (wheels) and cars.
2. The kiddos cut out the white circles and painted the cars. We always like to try new techniques for painting and this time we painted with these make up sponges. We did this earlier with our igloos, but wanted them to have freedom to paint over there cars without trying to make igloo bricks. 
3. Once everything was cut and dry, the kiddos glued their cars in stoplight order on the black paper. 

Didn't they turn out cute?
T is for Transportation: Stoplight Cars

I always like to add small touches to our rooms decor based on the theme, especially in the art center. They loved looking/reading these signs. These came with our curriculum from Lakeshore.
T is for Transportation: Decor Ideas
Technology
I was so proud of my quick thinking. Each teacher has his/her own iPad mini for the class. There are limited ways I can use a single iPad in a classroom of 3 and 4 year olds. In our wonderful curriculum we had a transportation listening game. Instead of putting the CD in a CD Player, I downloaded the CD to my computer and made a special playlist. Then I transferred it to the iPad. I then placed it on the table. They were not allowed to touch because I didn't want it to stop. They listened to the different transportation sounds and circled the matching type of transportation on their cards. It worked great and I can't wait to come up with more listening centers using our classroom iPad.
T is for Transportation: Listening Center

Hot Wheel Board Game
I have realized that most preschoolers do not know how to play games. I forget that such a "simple" skill in my mind still needs to be taught. I found this great board game through Scholastic Book Club. It was only $3!!!!! It was a hit and the best part is that it grows with them as they get older. :-) Differentiation at its best!
T is for Transportation: Hot Wheel Board Game

To find more ideas visit my pinterest page.

Sunday, January 4, 2015

Tactile Letters

I can't believe tomorrow school is back in session. It has been a great Christmas break. I was able to relax, watch Gilmore Girls, and spend time with family and friends. Over break I went into my classroom only ONCE!!! Yahoo! I did one project over break for my classroom and I can't wait to start using them tomorrow.My colleague found these letters at Hobby Lobby and wanted one for every week. I thought it was a great idea and thought it would be fun to add different textures that match the theme. Here are the first 4 letters I made.

 M for Monsters
I bought Paper Mache Letters from Hobby Lobby and painted it with lime green acrylic paint. Then I gorilla glued (gel) the large wiggle eyes on. Then I hot glued neon pom poms on the front and back. I did not put pom poms on the sides because I wanted the shape of the letter to stay intact.

 R for Rockets/Space
I sprayed paint the letter R with a glossy black. I put to much on, so I dabbed off the excess with a paper towel which it gave it some dimension. Then I sprayed glitter spray paint. Once the painted dried I add the glitter star stickers to the front and back.

 W for Water
First, I painted the edges with blue acrylic paint. Then I used the traced the letter on this scrapbook paper. Once I cut it out, I used spray adhesive to stick the scrapbook paper on the front and back.

O for Ocean
My wonderful friend made this one for me. She used spray adhesive then sprinkled sand on top. She did this 2 times. After the second layer of sand was on, she then sprayed a top coat of the spray adhesive to help the sand stay on the letter and not fall off.

(1.4.14)

http://4thgradefrolics.blogspot.com/search/label/Monday%20Made%20It#